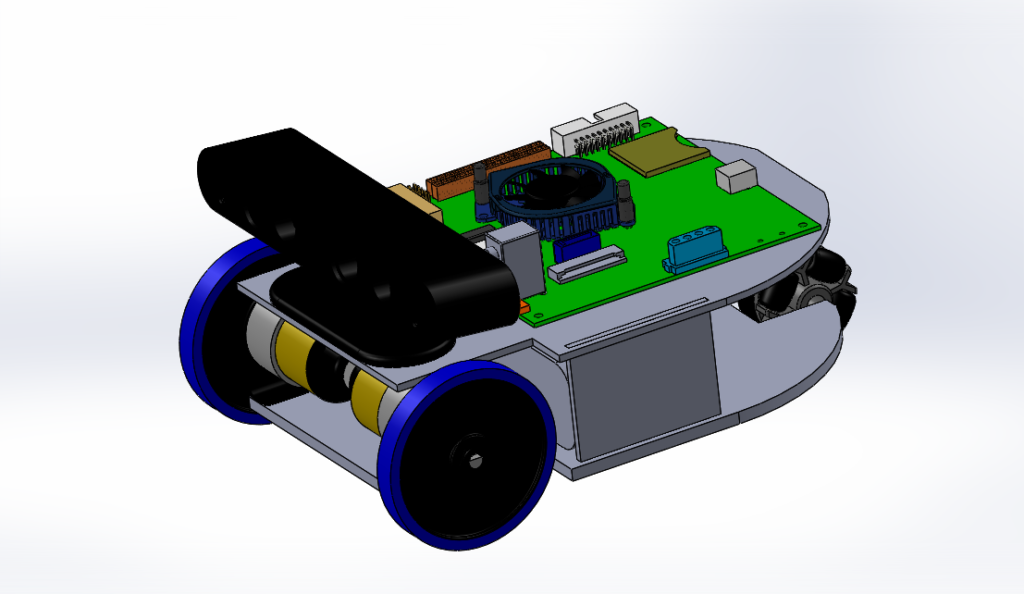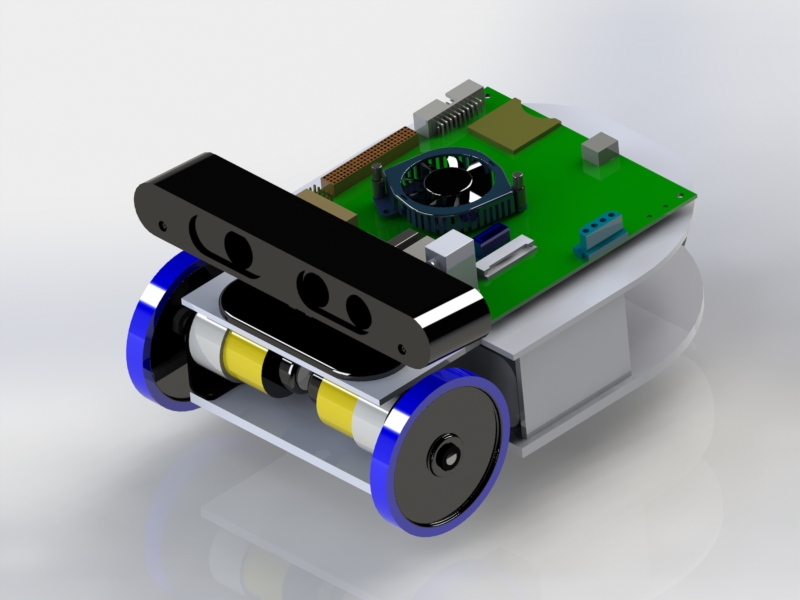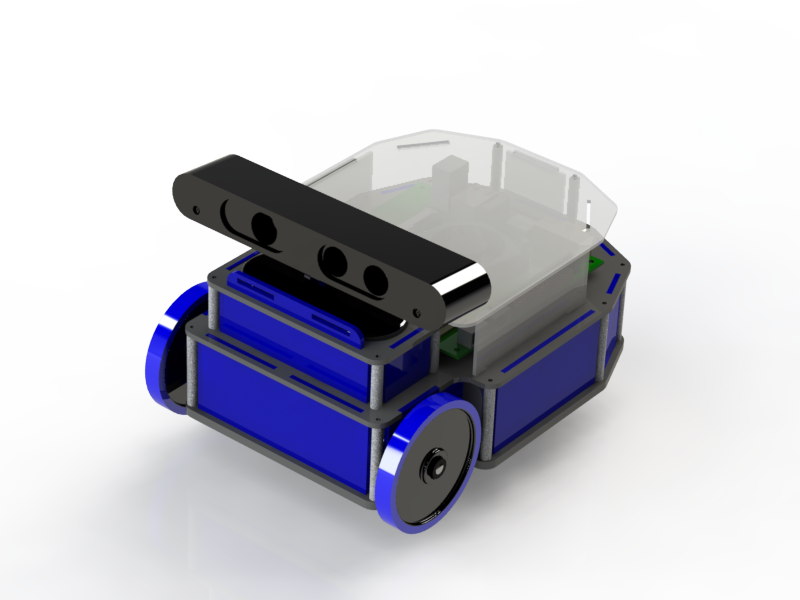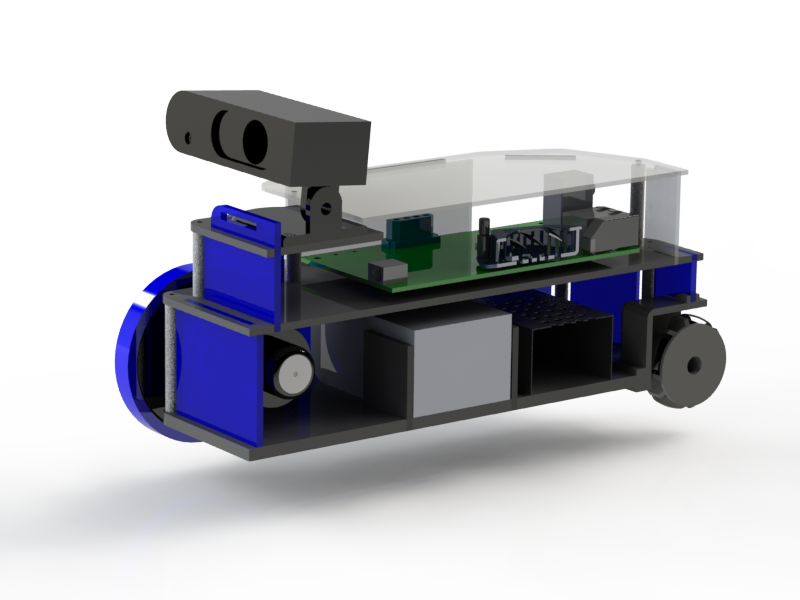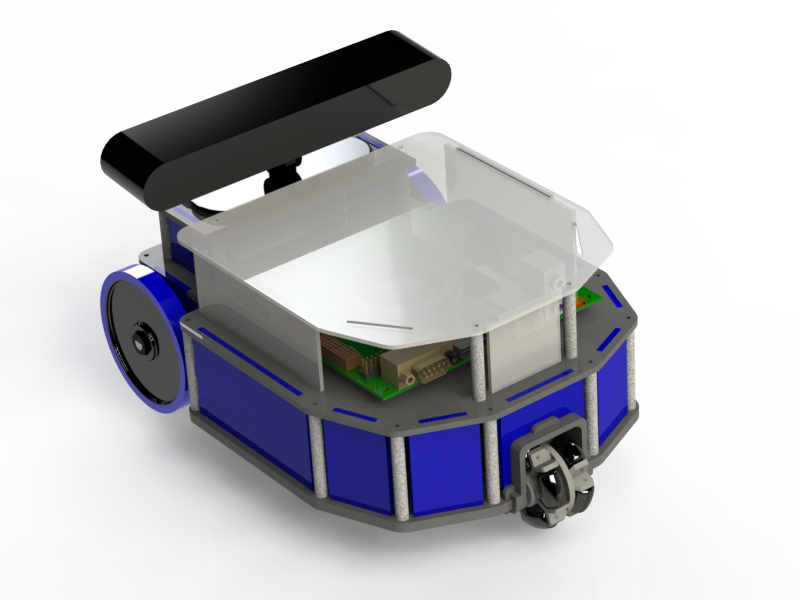
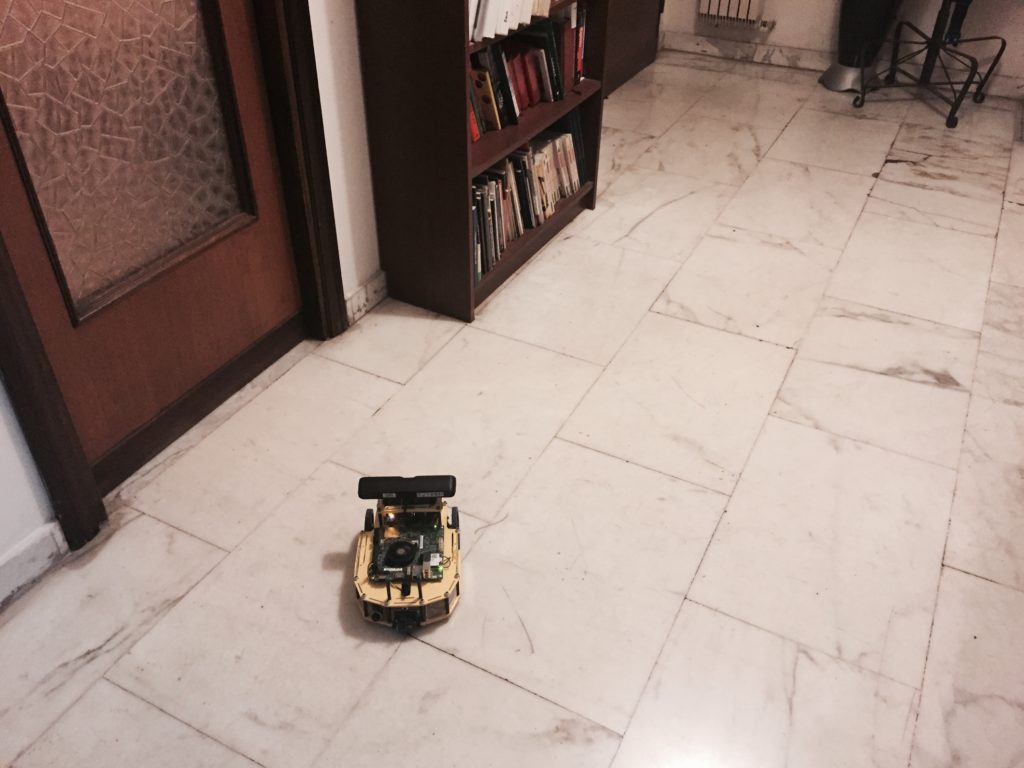
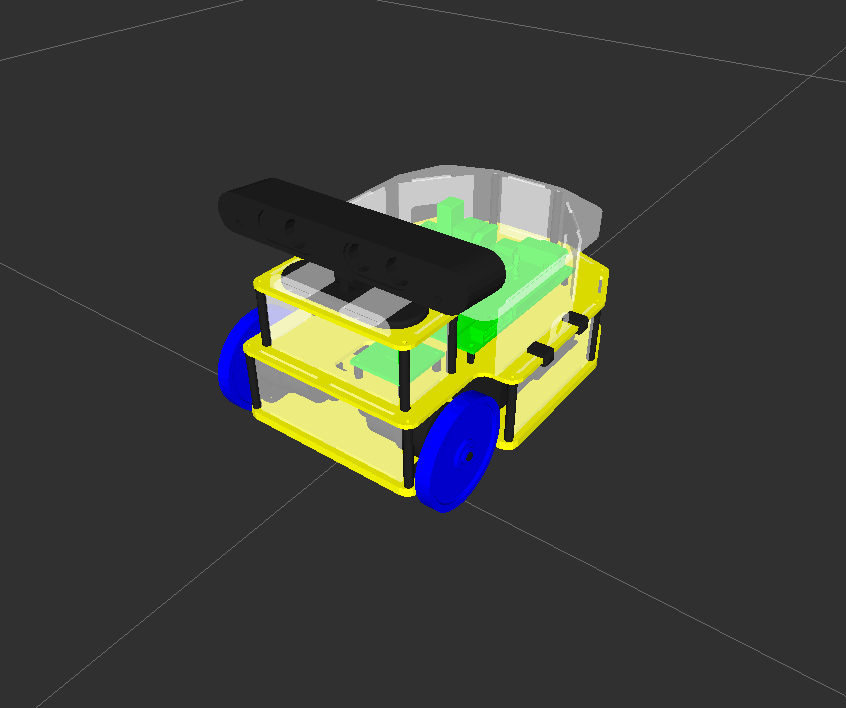
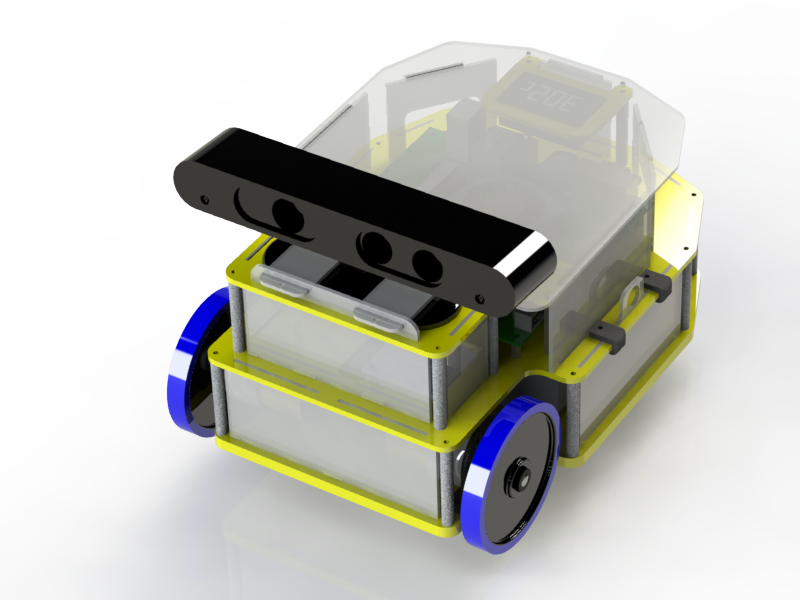
Dude is a little robot for with two wheels (diameter 7cm and 14cm of wheelbase) and weight about 2 kg. It is equipped by a RGBD sensor, a NVIDIA Jetson TK1 board and the unav motor control board. This robot interact and perceives of obstacles around it. it can send real time all pictures from the environment that surrounds it. The applications for “Dude” are wandering and interaction with humans in unknown environments, you study of intelligent control techniques for human-computer interaction, the children’s entertainment, etc etc.
Autonomous
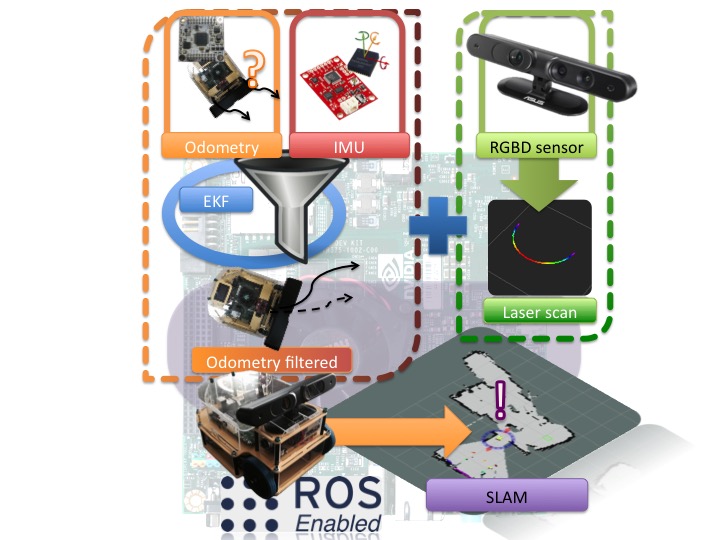
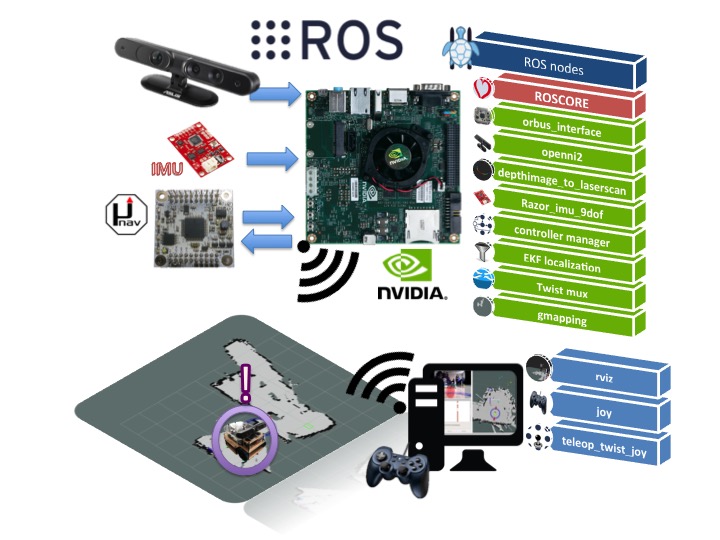
With ROS, Dude can wandering autonomously and with a web remote control you can read all telemetry information and diagnostic the heat of the robot. The sensors of the robot are RGBD camera and encoder for the wheels.
SLAM
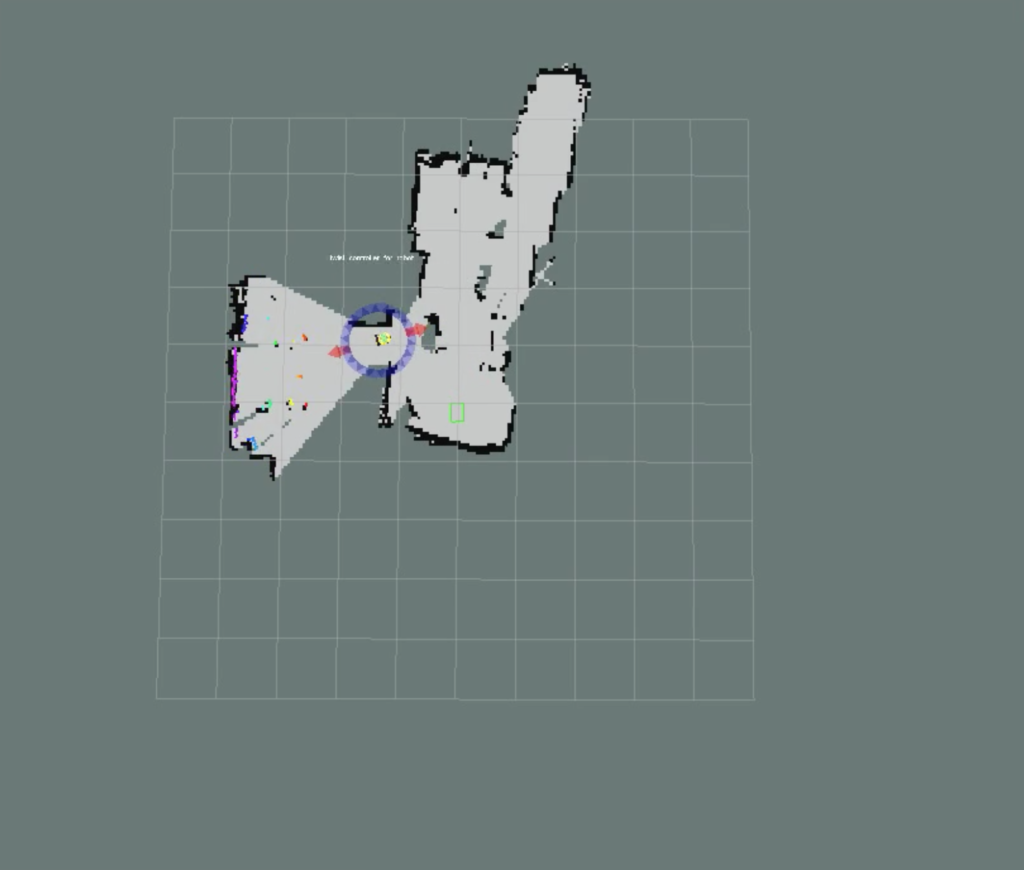
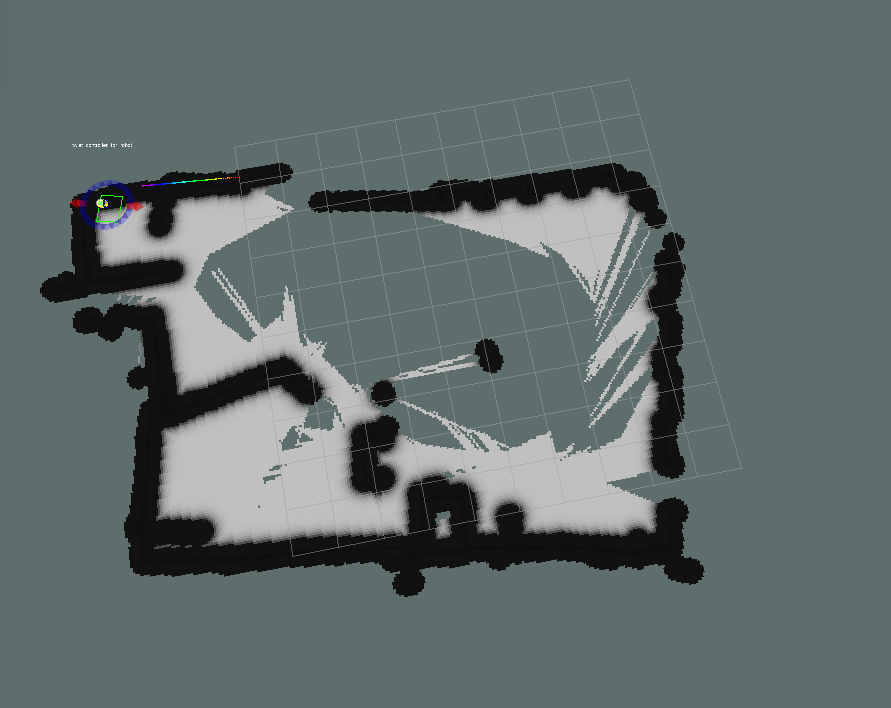
Simultaneous Localization And Mapping (SLAM) is used for dude robot to localize and mapping an unknown area. This process consists of a number of steps, filtering the information from different sensors, estimate the position with cameras, re observing the environment robot moves around and updating where the robot thinks it is based on these features.
and an example of map building

Interaction
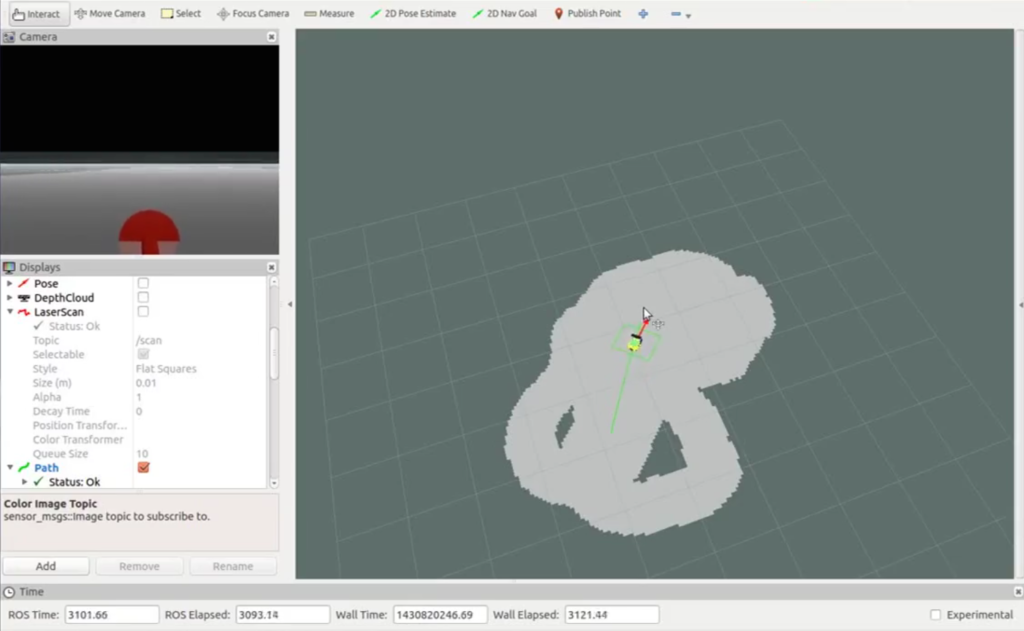
With the SLAM and an high level control dude can interact with the environment. A graphic interface for PC or an web remote control system. You can set a goal inside a map, built in real time, and you can see the robot build a path and following it.
Simulation
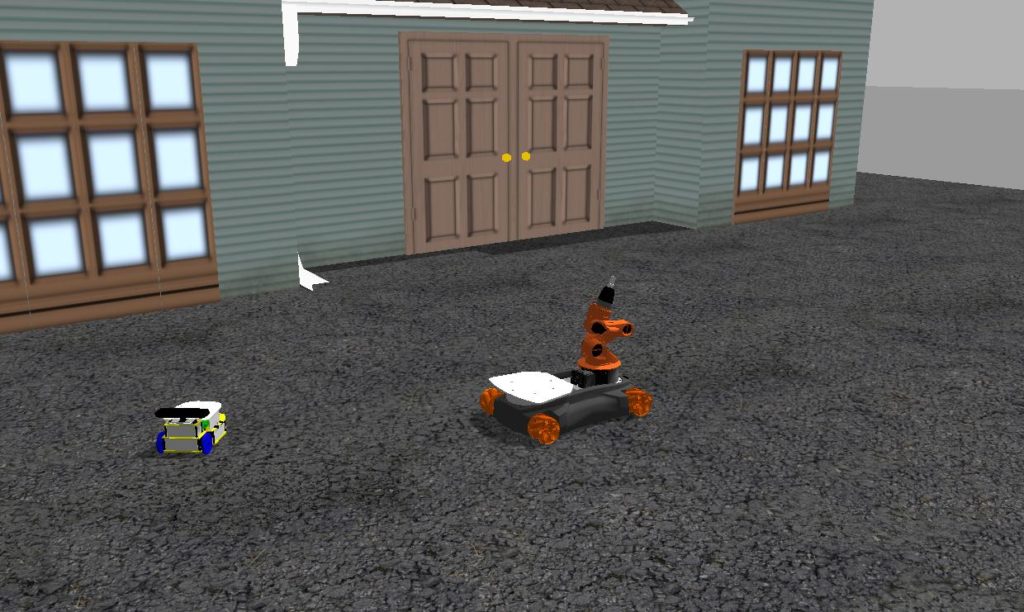
Dude is on Gazebo as well. In this picture some screenshots in simulation
Open source & open hardware
It’s totally available the source code to configure my same robot.
On my github account you can download all code and the mechanical design of the robot.
Follow the special feature available in this robot.
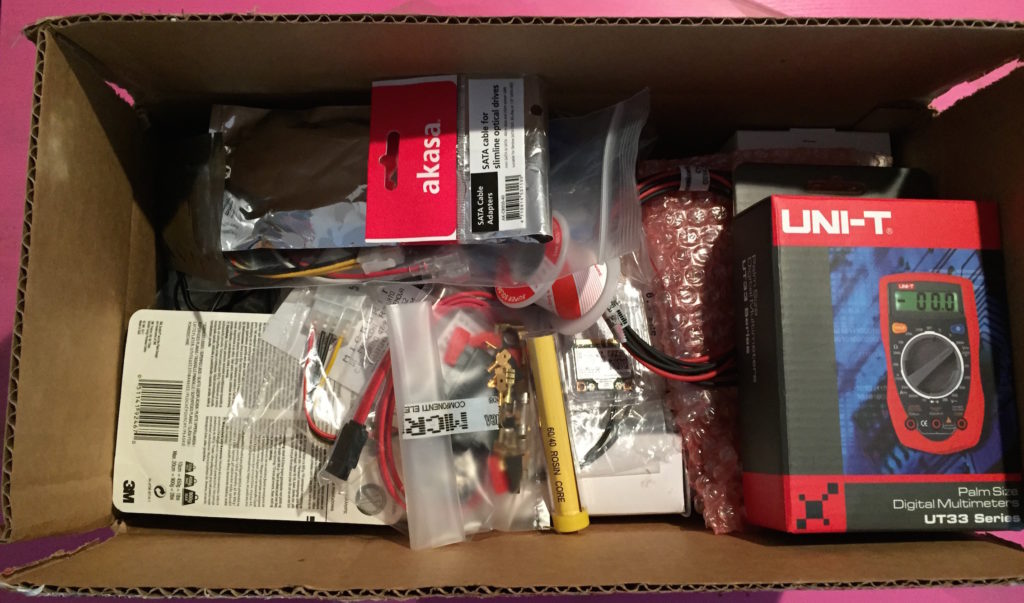
Bill of Materials (BOM)
You can find all components with seller reference and link to webpage.
| Description | Quantity | Price | Other |
|---|---|---|---|
| NVIDIA Jetson TK1 | 1 | 199€ | |
| uNAV | 1 | 45.00€ | |
| uBridge | 1 | 36.60€ | |
| DC Motor - 12V ( 6V to 18V ) 200rpm 30:1 with 2mm rear shaft | 2 | 21.00€ | |
| Single Endedd 5V version 300CPR | 2 | 37.00€ | |
| Encoder centering kit | 1 | 10.40€ | |
| Allen screws 20pc | 2 | 2.50€ | |
| DC-DC USB Enclosure | 1 | 3.95$ | shipping 36.49$ |
| DC-DC converter with USB interface | 1 | 59.95$ | |
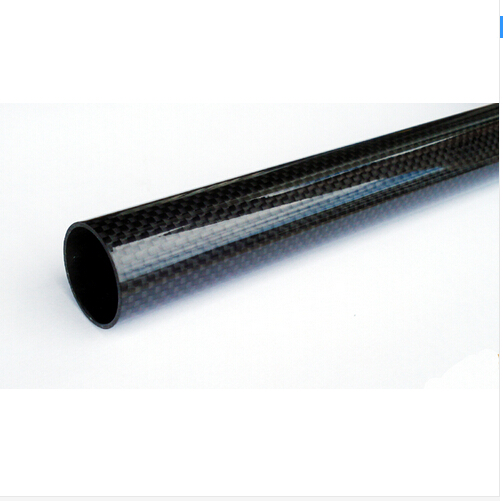
| Carbon tube - 6x1000 mm | 3 | 4.9€ | shipping 7.9€ |
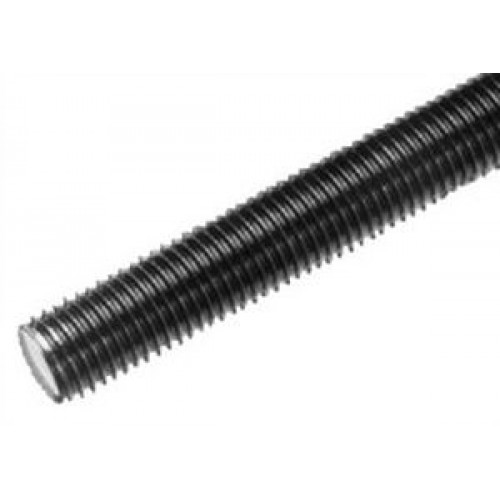
| Steel bar threaded M4x500 mm | 2 | 2.0€ | |
| Locknuts M4 flanged (10pz) | 3 | 2.2€ | |
| Locknuts M4 - Blue | 1 | 6.5€ | |
| Turnigy 5000mAh 4S 30C Lipo Pack | 1 | 44.95$ | shipping 26.26$ + customs 25.67€ |
| Turnigy Soft Silicon Lipo Battery Protector (clear) 148x51x37mm 1 0.83$ | |||
| Intel - Mini PCI - Express WiFi board 7260 HMC Dual Band | 1 | 27.90€ | |
| OTG Adaptor micro USB 1 5.38€ | |||
| HUB USB 3.0 with adaptor amazon 1 17.99€ | |||
| Asus XTion PRO LIVE sensor | 1 | 150.01€ | |
| FTDI USB serial adapter | 2 | 11.83€ | |
| Dagu Omni Wheel - 40mm | 1 | 6.05€ | |
| BaneBots Hub, Hex, Series 80, 6mm Bore, 1 Wide 2 8.28€ | |||
| Aluminum Motor Mount (pair) | 1 | 7.95$ | |
| compact polycarbonate - 2mm | 1 | 25.56€ | |
| Expanded Yellow PVC - 3mm | 1 | 16.56€ | |
| Voltmeter 12V | 1 | 3.30€ | |
| 710736 - 9 Degrees of Freedom - Razor IMU | 1 | 75.21€ |
Average total price: 1050€
Build
In this guide you can build your personal DUDE robot following the steps in this page. The first step is to buy all components and take near you all required equipment.
| Tool | Picture |
|---|---|
| Hacksaw |  |
| Screwdrivers | 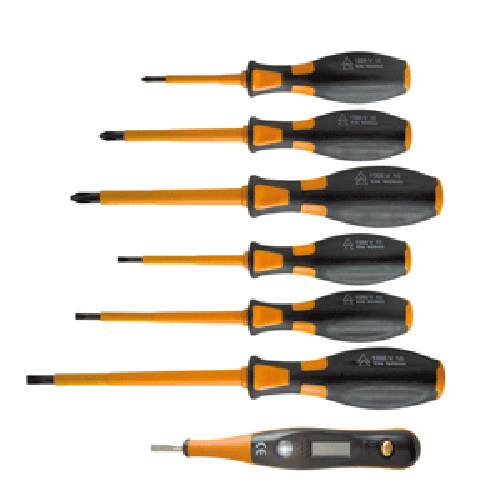 |
| Cutter | 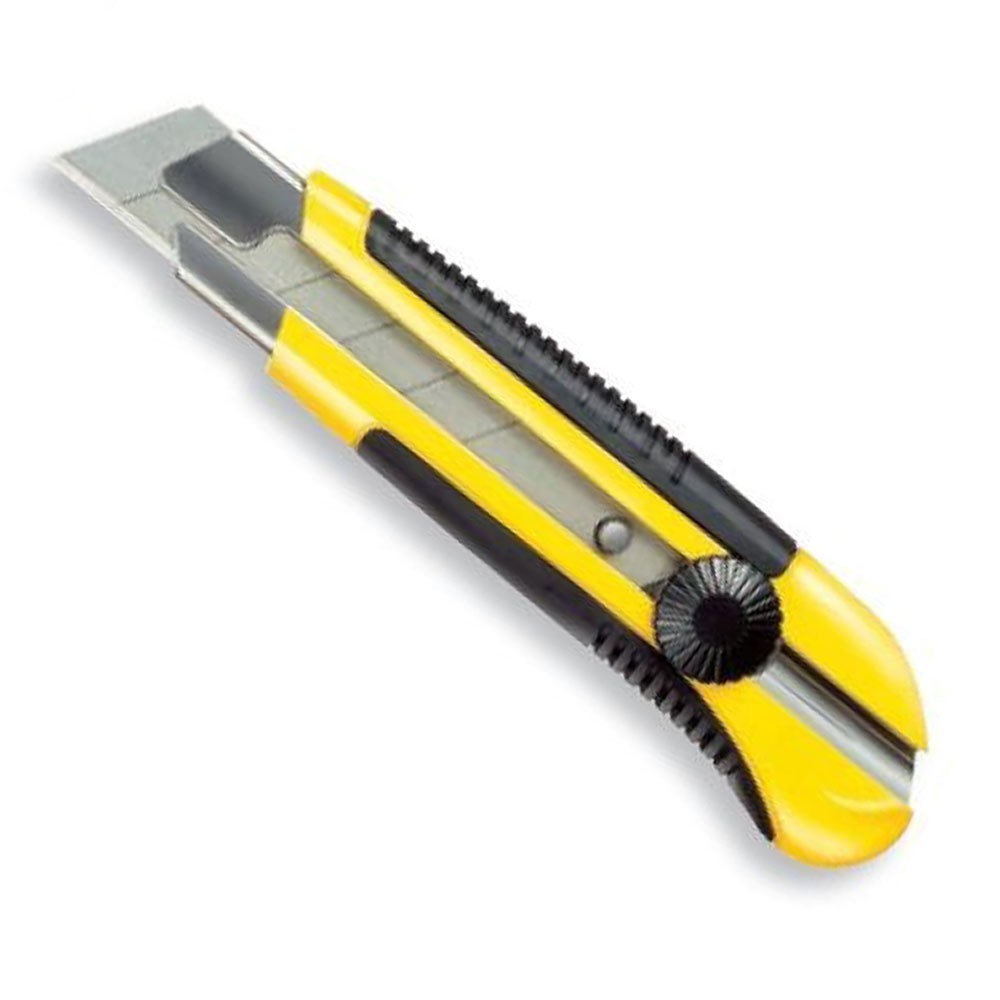 |
| Wrenches | 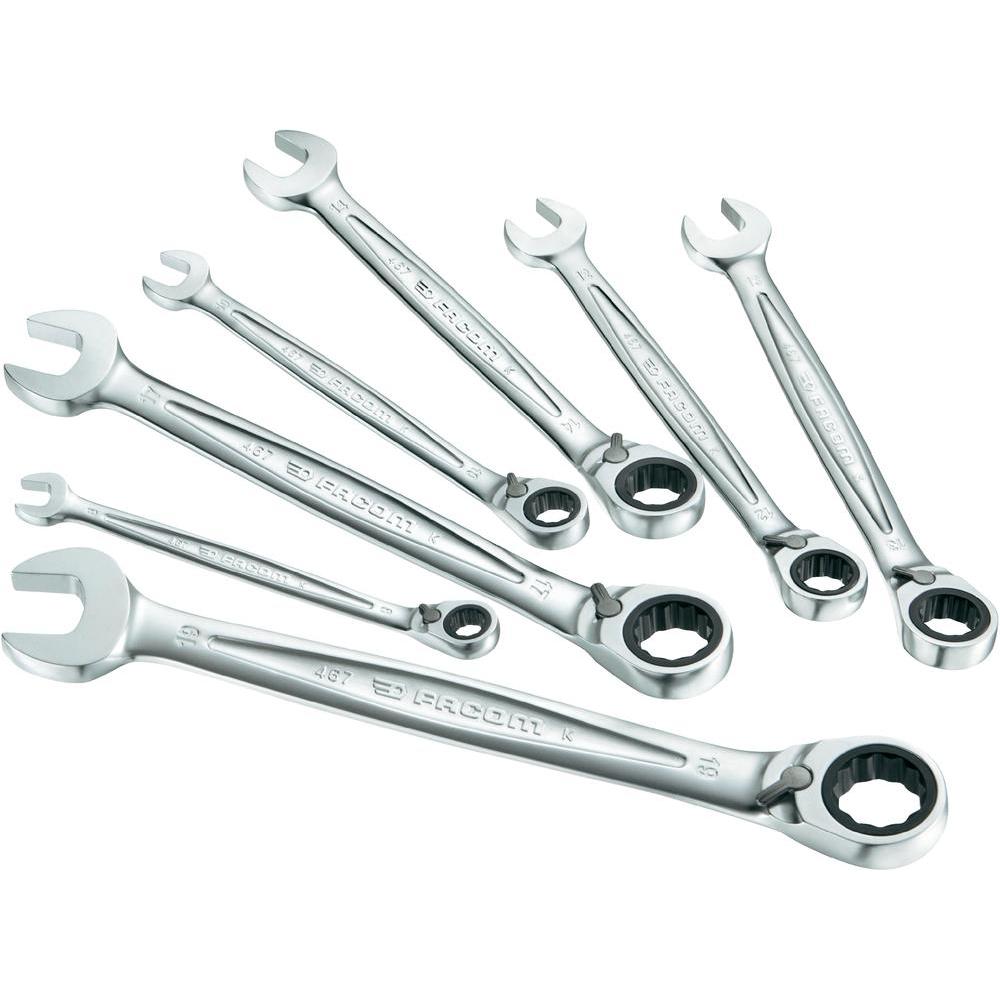 |
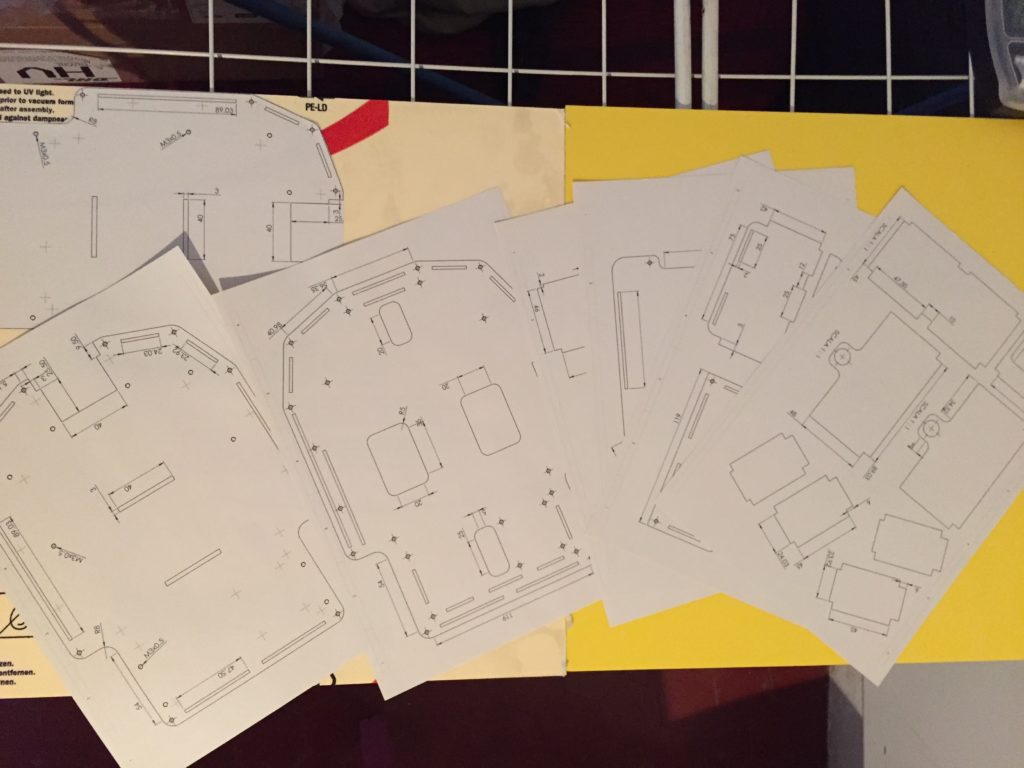
Download: dude-frame-parts.pdf
Preparation
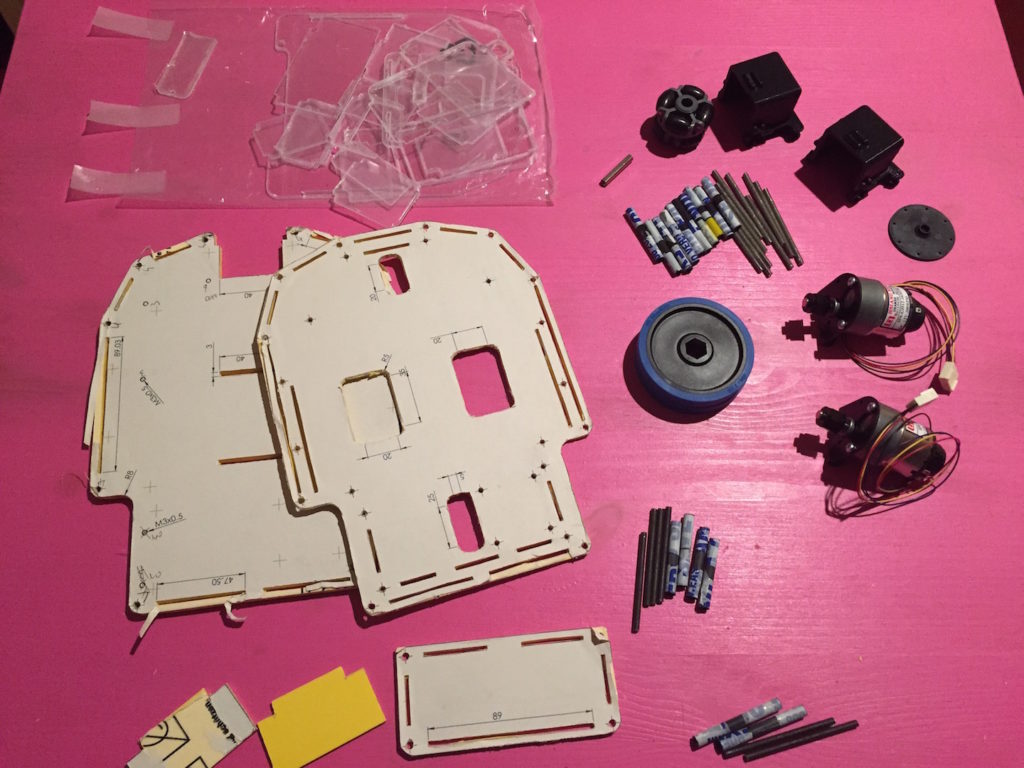
With the cutter, cut all frame. Usually I cut with a scissor the border of the parts and with a glue I paste on the PVC. I use this reference to cut all parts, but if you have a laser cutter machine It’s more easy.
Remind The first plane are two same plane glued to increase the thickness (6mm) and the robustness.
With a hacksaw cut a M4 threaded rod in different lengths:
- 12 x 6,5 mm
- 4 x 6mm
- 2 x 7mm
After cut a carbon fiber pipe with internal hole of 4mm and external of 6mm:
- 12 x 4,5 mm
- 4 x 4mm
- 2 x 5mm
With a 3D printer, you print the passive omniwheel support.
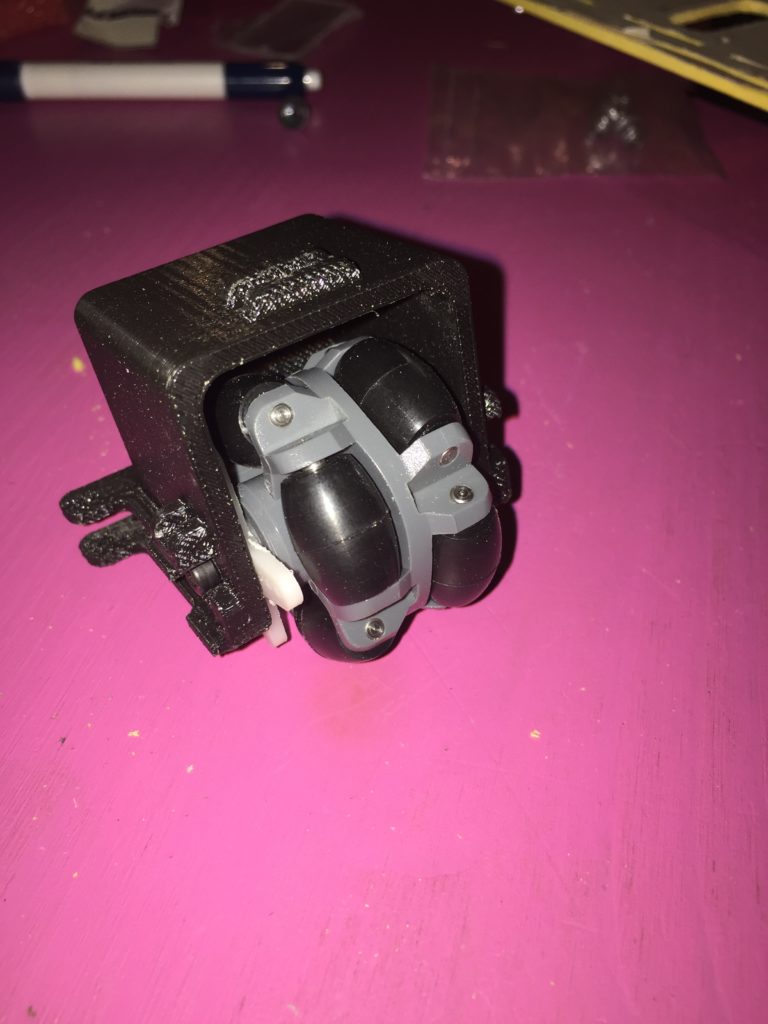
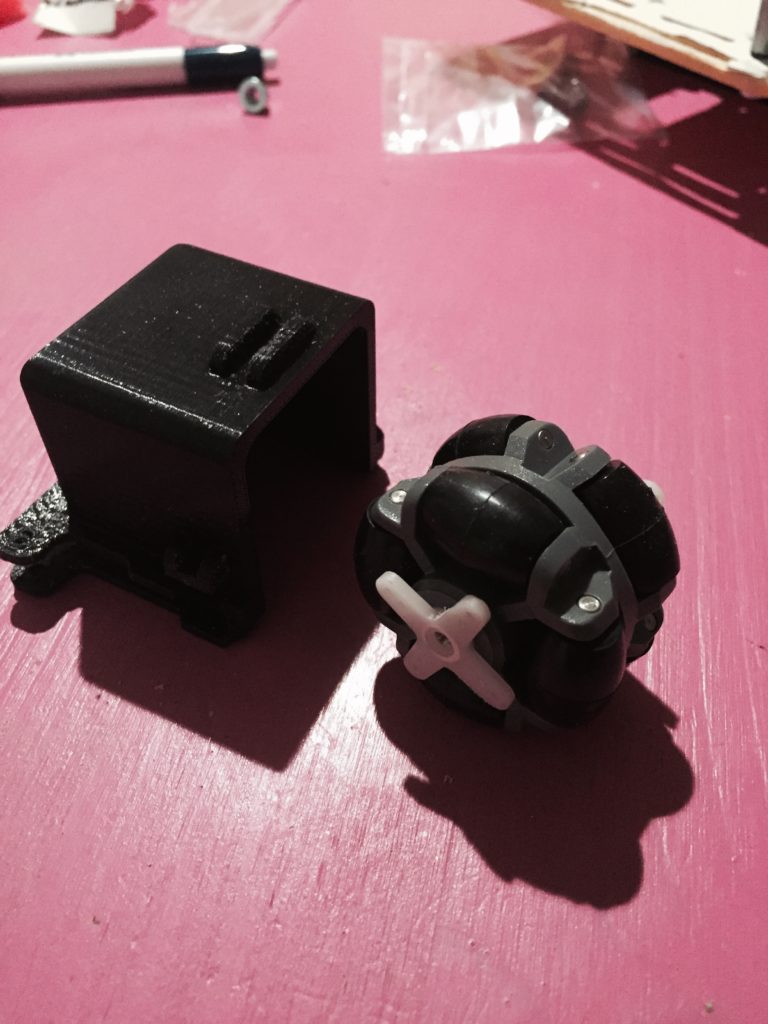
After the 3D printer finish you should use a spacer to align the omniwheel and with two screws fix the spacer between the hole inside the support.
When is done to cut all parts, you can start to assembly all part to complete the frame of dude robot. I suggest to check all parts and prepare the table to start to build the robot.
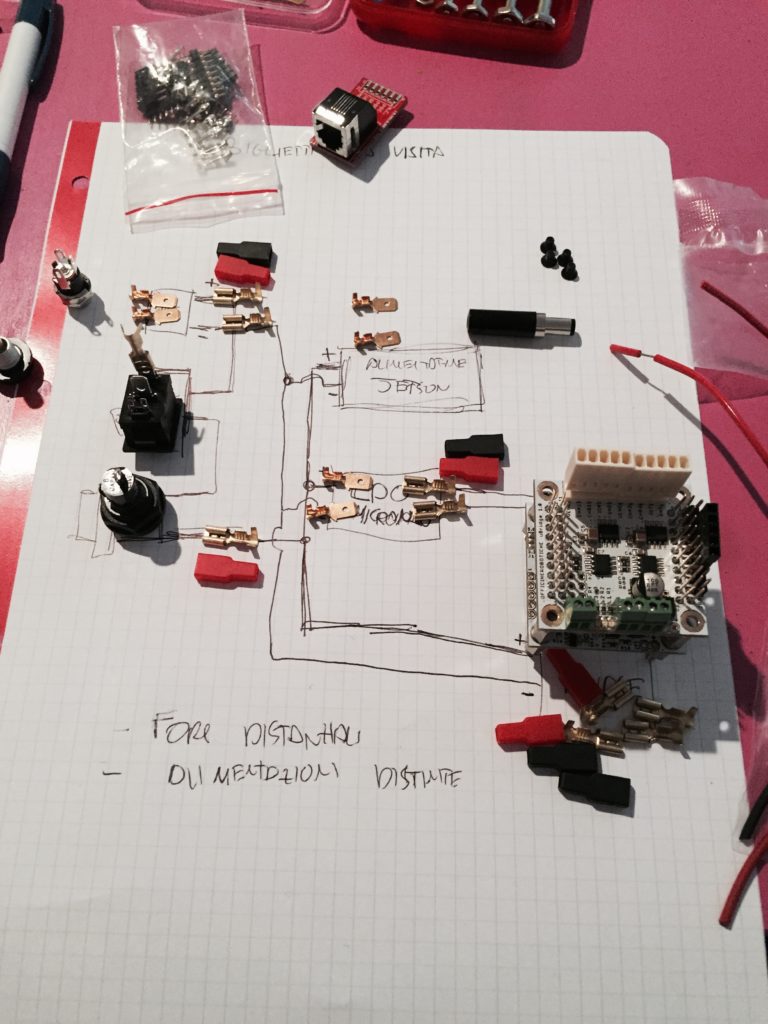
Electrical connections
- 2 meters cable, each one with different colors;
- Fuse holder
- Switch
- different connectors (male, female).
Follow the electrical connection on the picture and build all electrical connection.
Assembly
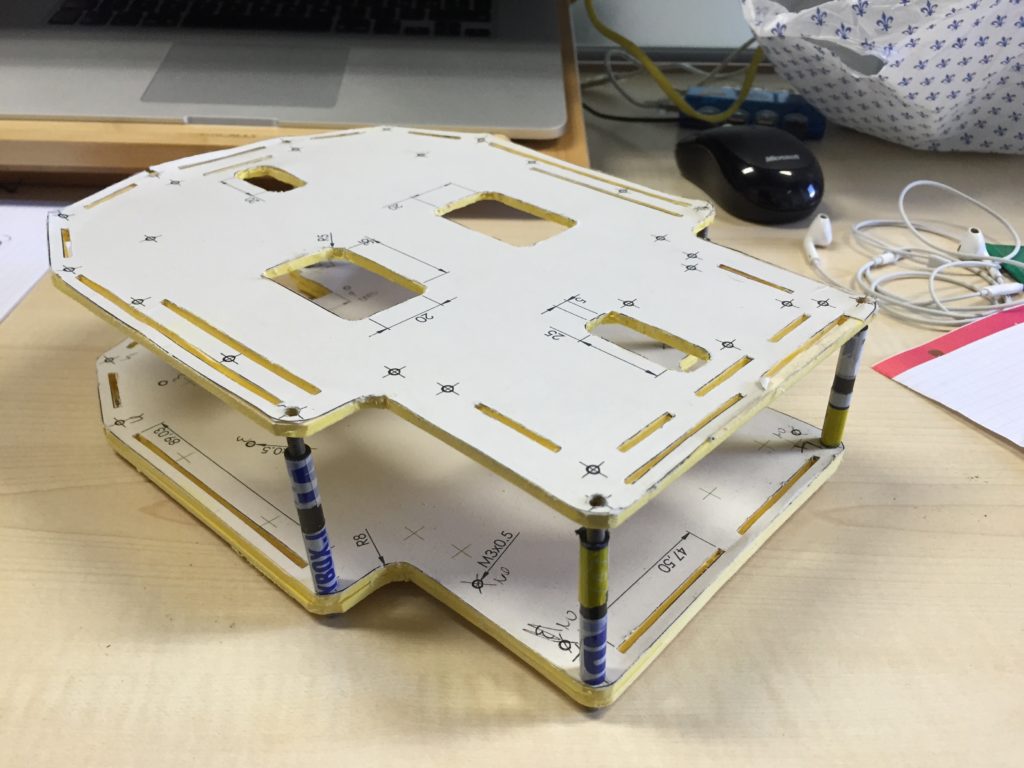
Bring all 12 threaded rod 6.5mm of length and assembly long of all holes in the border of the base frame; Block all threaded rod with a bolt and insert a carbon fiber long 4.5mm in all rods; Assembly and block with screws and bolts the two aluminium motor shaft; Assembly the passive wheel support on the back of the frame; Mount the two motors with two wheels in the shaft.
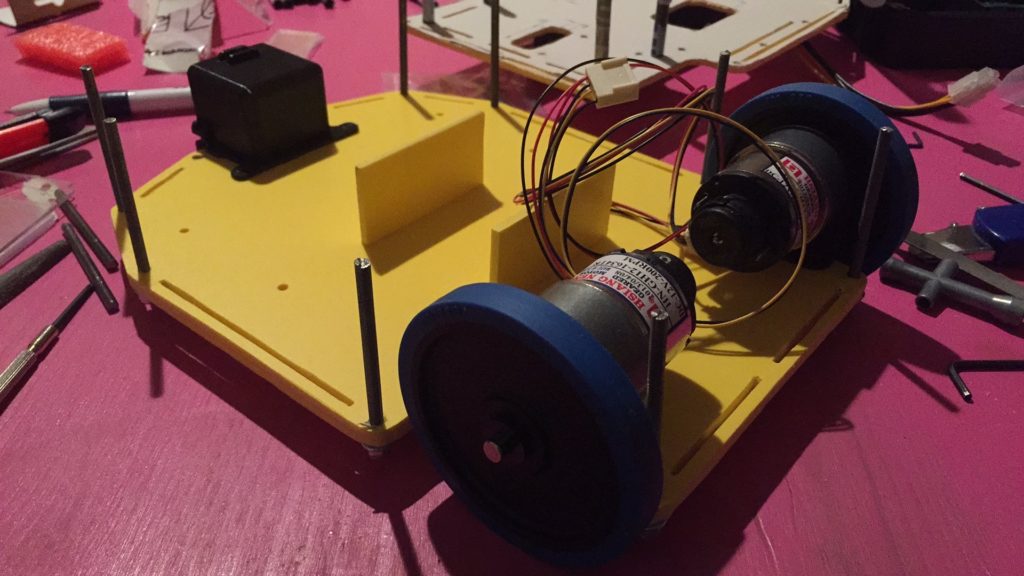
Use the DC/DC converter and fix with 4 screws near the passive wheel. Inside the two little PVC walls you can try to positioning the lithium battery and check the correct dimension of the first robot plane.
Second frame
Upper the frame:
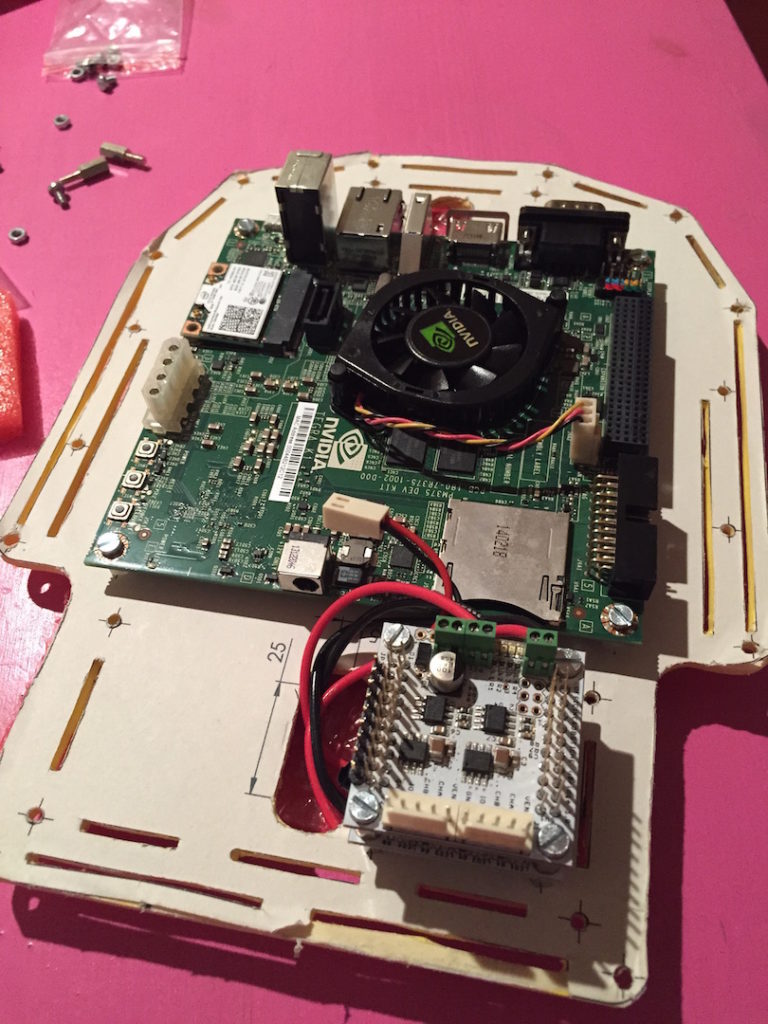
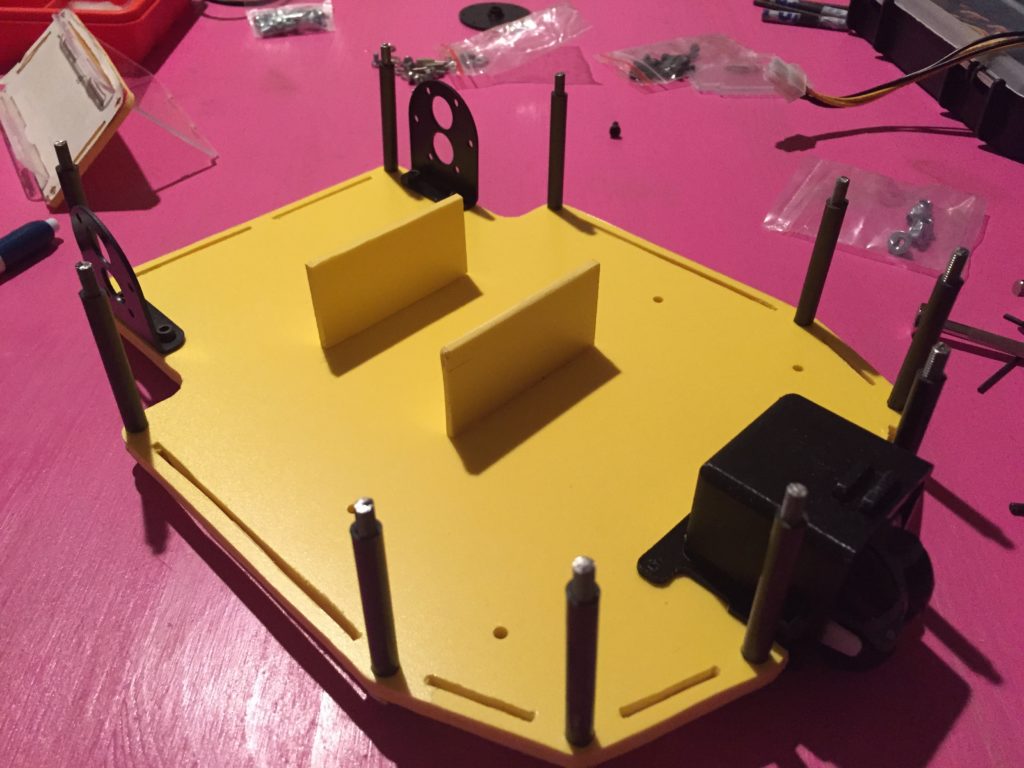
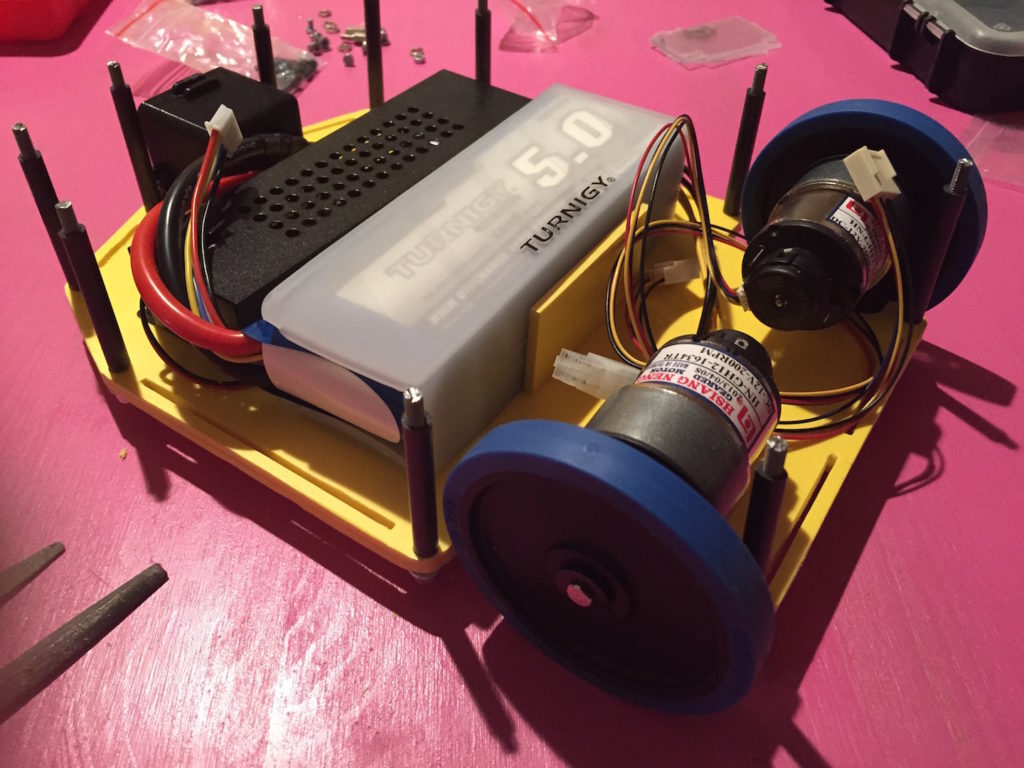
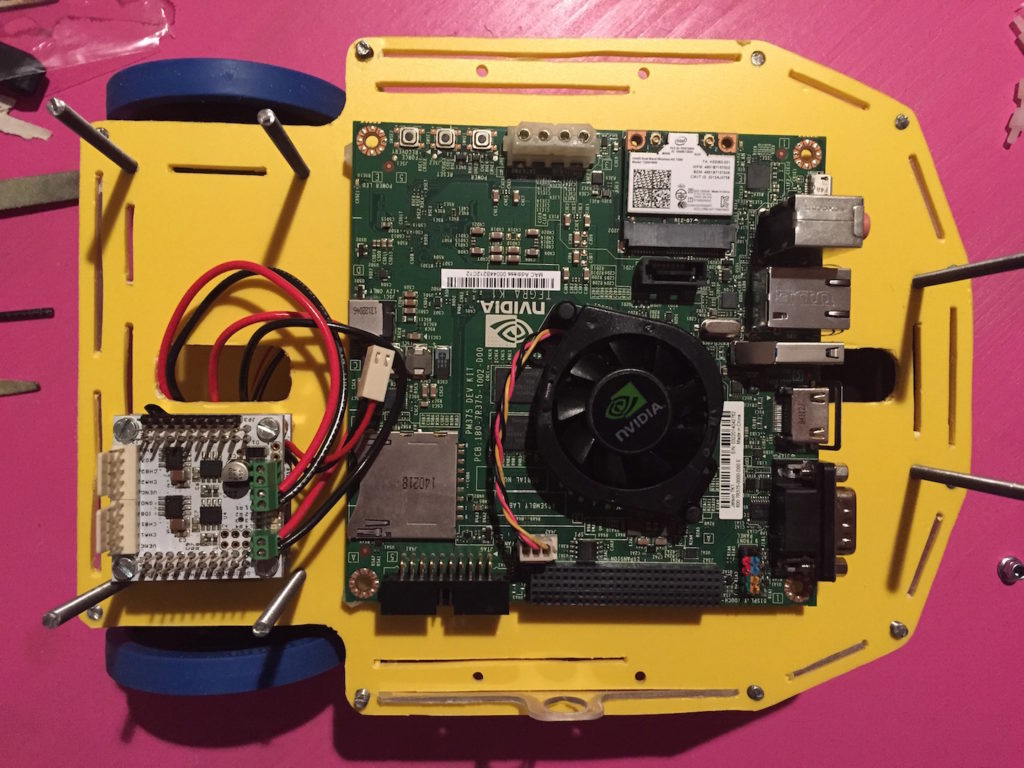
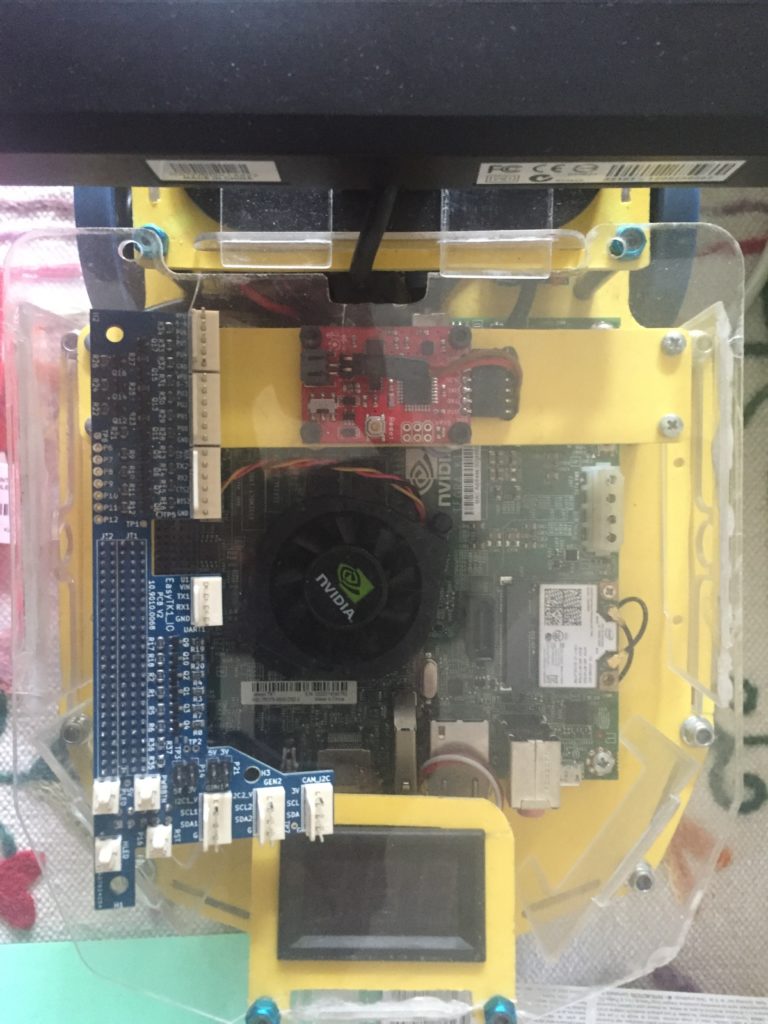
Take your NVIDIA Jetson TK1 and set over the four spacers; Same work for the unav. This board must mount in front of the plane; Upper the unav mount the ubridge;
NOT IN PICTURE Near the unav mount an DC/DC regulator.
Below the frame:
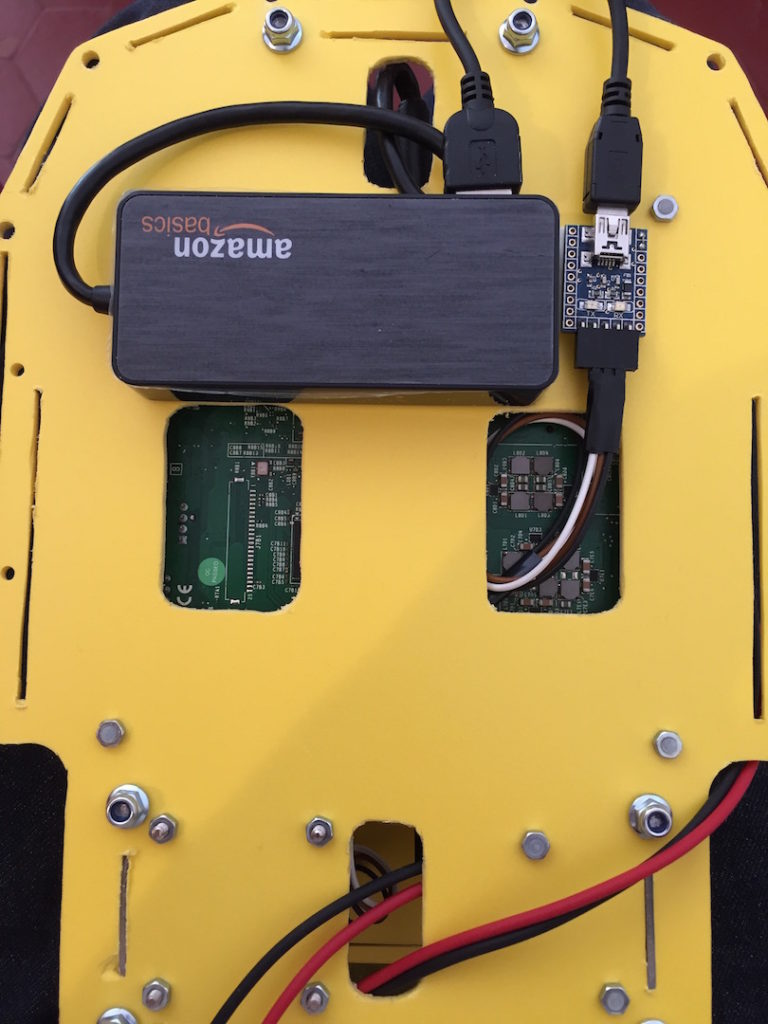
Below the frame, bring your USB hub and fix with a double-sided adhesive tape; Near the usb hub fix an USB serial converter for the unav; Connect the USB cable from the USB serial converter to hub USB; Connect the USB hub to the NVIDIA Jetson TK1 assembled before; NOT IN PICTURE Add two wi-fi antennas near the frame borders.
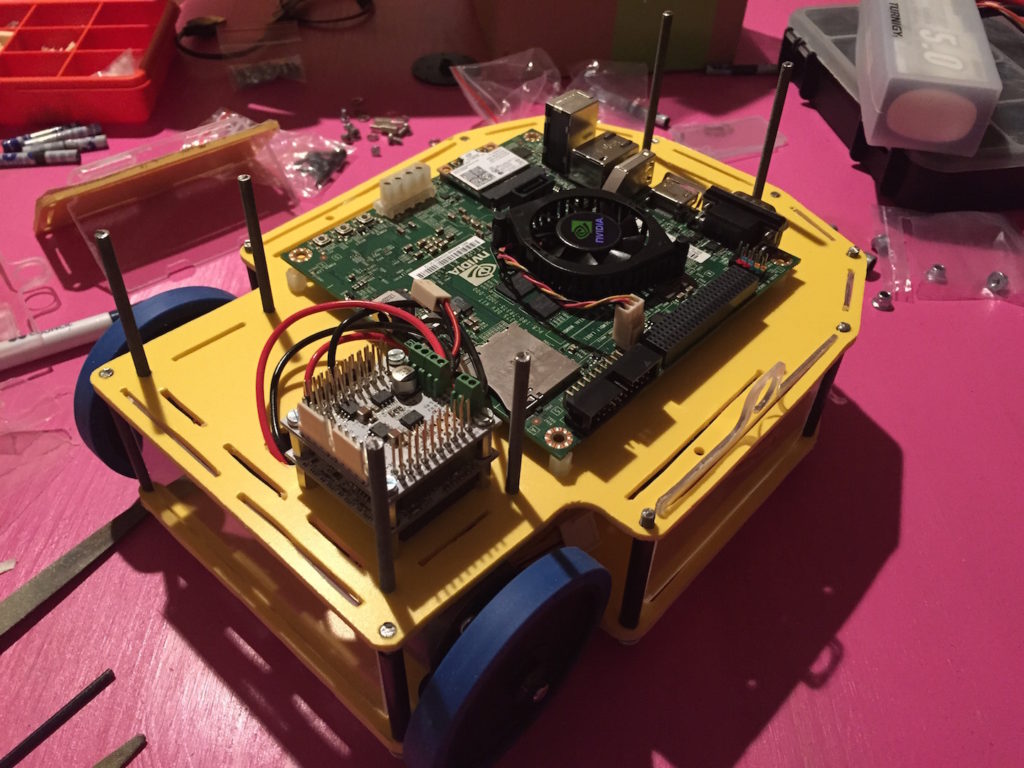
Bring your 4 x 6mm threaded rods and mount in the four hole in front of the plane. These rods are used to support the vision sensor plane. The latest remaining threaded rods mount behind the plane, it used to support the cover.
Take your 8 transparent 2mm PVC and assembly between the first and the second plane. All transparent walls are mount on the slots.
When all parts fit. Use your 12 bolts to fix the second plane.
Plug last 4mm and 5mm carbon fiber pipes in all rods.
Camera and cover
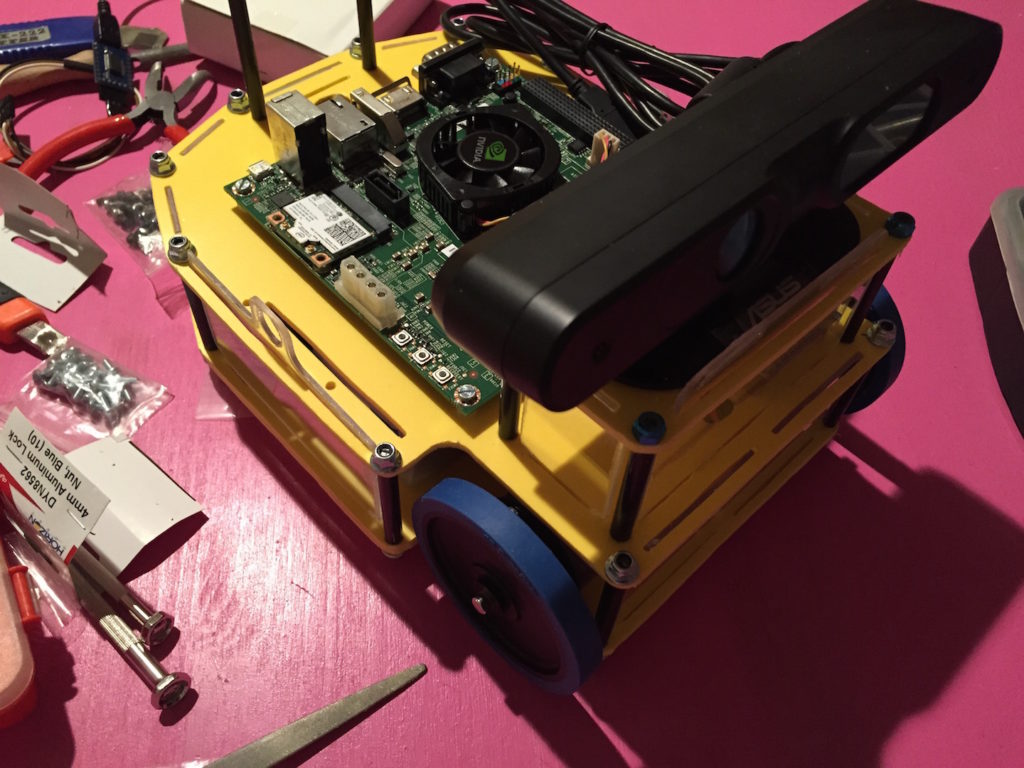
Assembly the cover and check if all walls cover enter easily inside the slots in the upper frame; Cover the unav and dc/dc 5v regulator with the little upper frame; Mount over the yellow upper frame the RGBD sensor and put inside the big hole in the upper frame the USB cable; Connect the USB cable on the hub usb inside the robot; Block the upper frame with the 4 blue bolts.
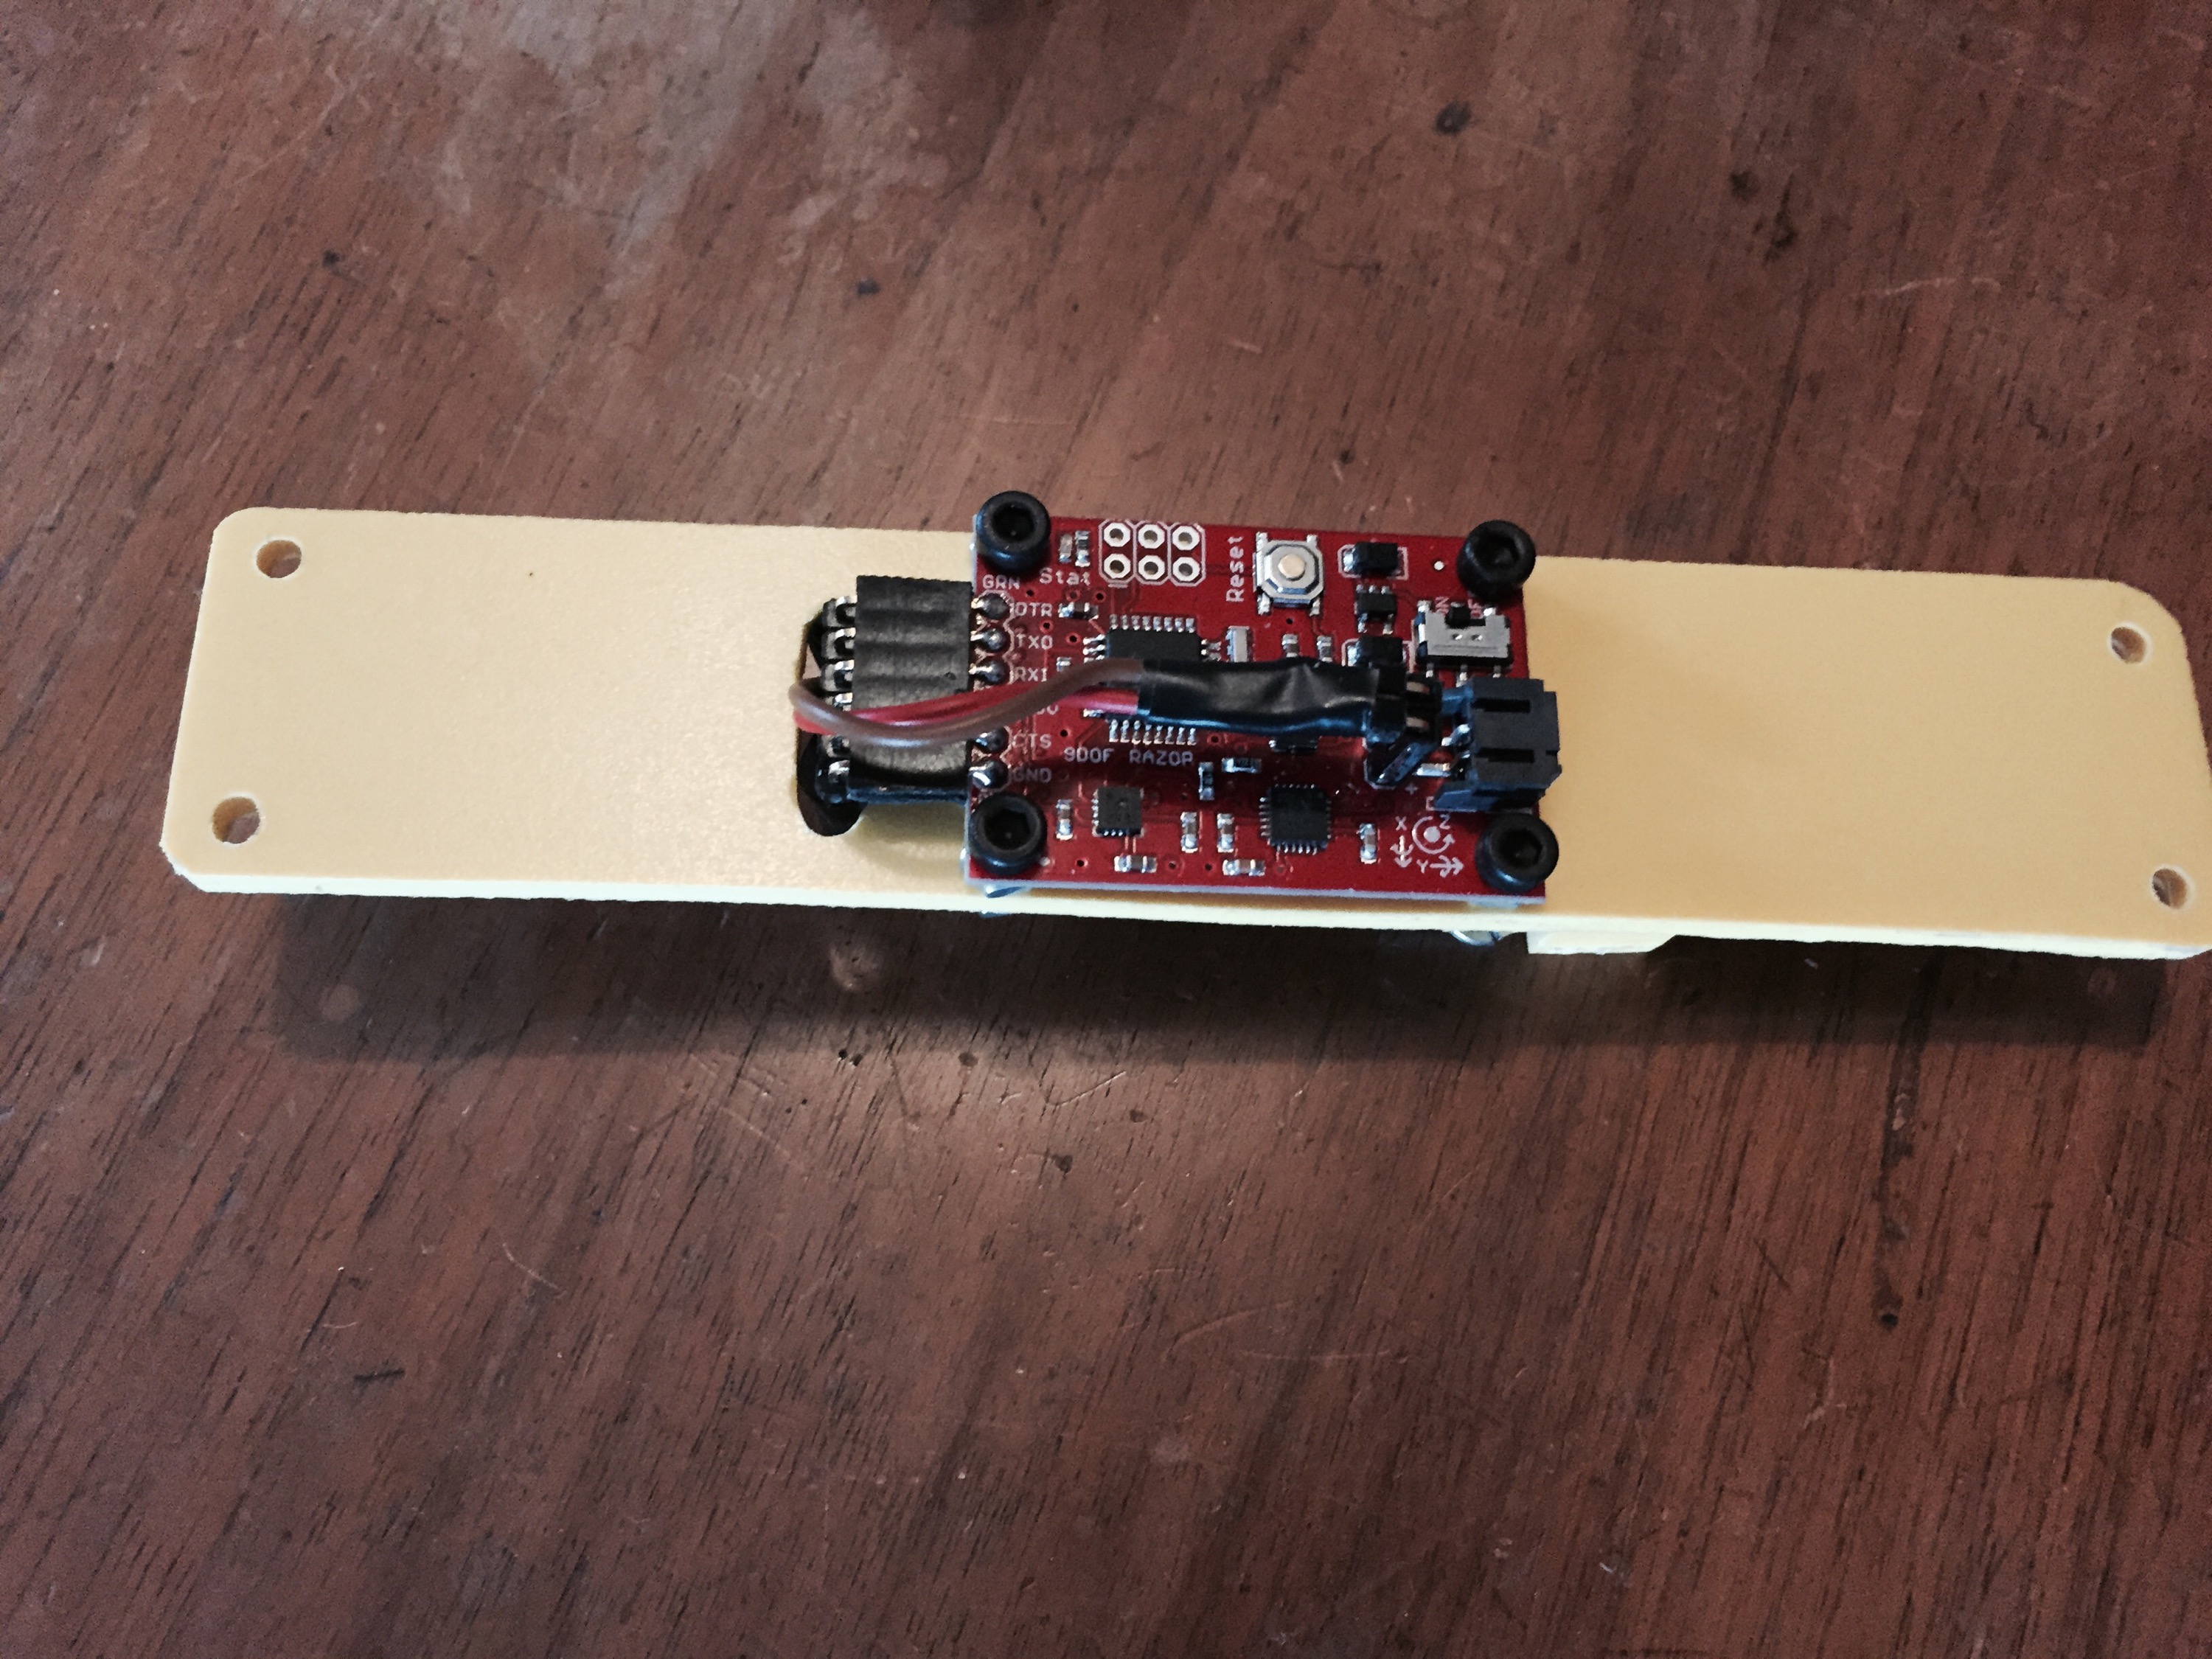
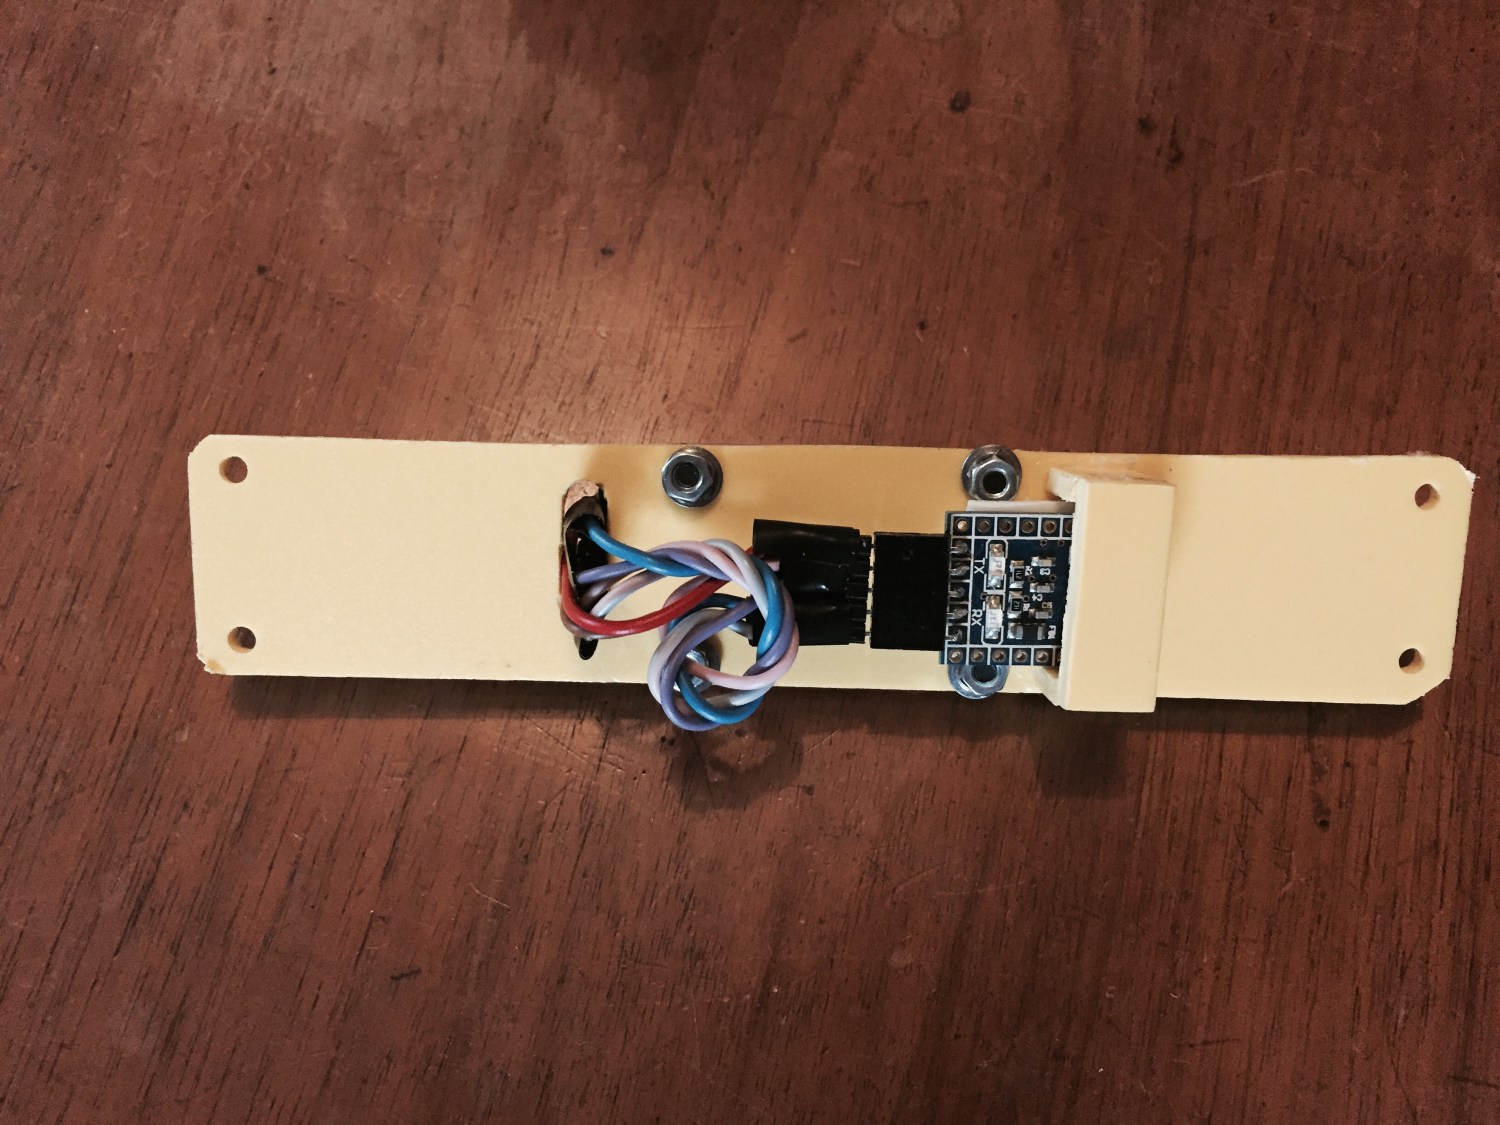
IMU plane
With the same work to cut the frame of dude, cut the additional
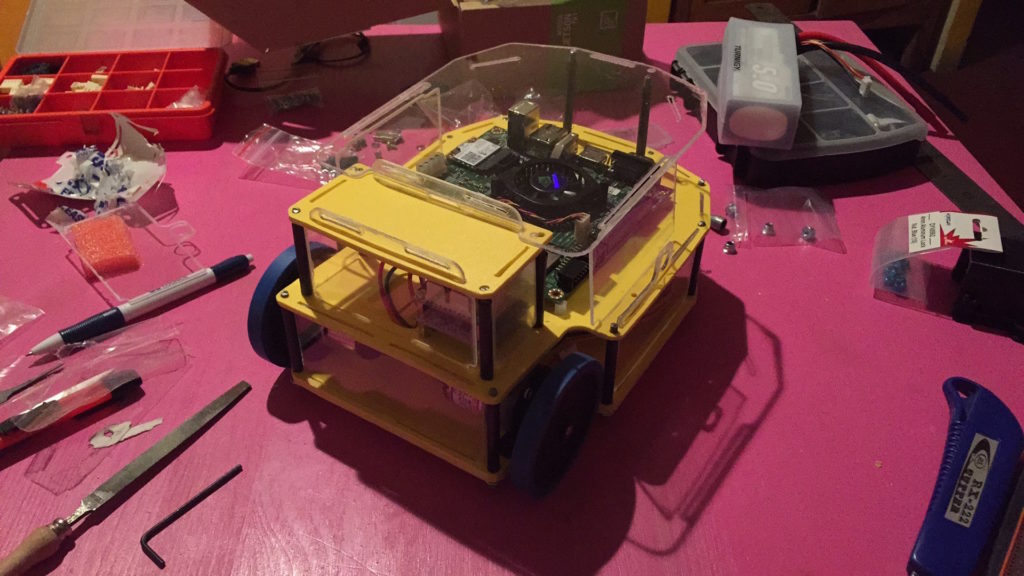
Final result
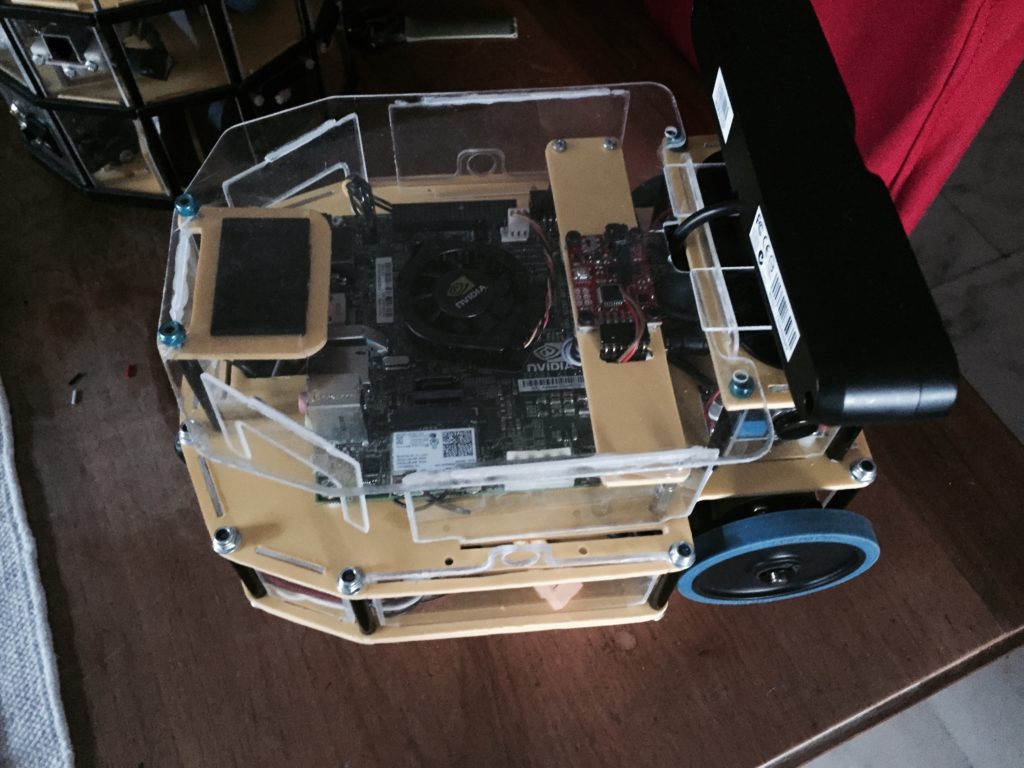
Extension board
From my friend Mauro Soligo (katodo store) I tested the Expansion board for the NVIDIA Jetson TK1
Install
Following the Jetpack Instruction install the firmware and all libraries:
- CUDA
- CuDNN
- VisionWorks
after installation execute
sudo apt-get update
sudo apt-get upgrade
After installation all packages the JetsonTK1 require a reboot.
After reboot configure your Ubuntu repositories to allow “restricted,” “universe,” and “multiverse.” You can follow the Ubuntu guide for instructions on doing this or you can open a new bash and type:
sudo apt-add-repository universe
sudo apt-add-repository multiverse
sudo apt-get update
and install the auto completition bash (You can find other packages in Best packages for arm distribution)
sudo apt-get install bash-completion command-not-found
I suggest to install:
htop
nano
Change system hostname
If you want change the default hostname from tegra-ubuntu to dude you must change the hostname information in the Jetson TK1 board.
On the same bash type to modify the first file:
sudo gedit /etc/hostname
and replace tegra-ubuntu to dude, same action for the hosts file.
sudo gedit /etc/hosts
When complete run sudo service hostname restart or restart the Jetson TK1 board
Drivers
If required by default USB3.0 port is not enabled and it is detected as a “simple” USB2.0 port. (The xTion does not work with USB 3.0 port)
sudo sed -i 's/usb_port_owner_info=0/usb_port_owner_info=2/' /boot/extlinux/extlinux.conf
Following jetsonhack guide Disable autosuspend
sudo sed -i ‘$s/$/ usbcore.autosuspend=-1/’ /boot/extlinux/extlinux.conf
After reboot the board
FTDI Driver Module Download from github the Jetsonhack’s repository to install the FTDI driver
git clone https://github.com/jetsonhacks/buildJetsonFTDIModule.git
End finally launch the script
./prepareModule.sh
and after
./removeSources.sh
Install ROS Jade
Following the installation guide for ARMHF distribution on ROS wiki.
Standard node
- ros-jade-ros
- ros-jade-navigation
Now setup home catkin
mkdir -p ~/catkin_ws/src
cd ~/catkin_ws/src
catkin_init_workspace
cd ~/catkin_ws/
catkin_make
echo “source ~/catkin_ws/devel/setup.bash” >> ~/.bashrc
source ~/.bashrc
Install and follow the installation guide:
- ros_orbus_interface – Follow the WIKI
- ros_robot_wandering_demo
- ros_dude
After run:
rosdep install -y --from-paths src --ignore-src --rosdistro jade
Setup hostname ROS and add hostname robot definition
echo “export ROS_MASTER_URI=http://dude.local:11311” >> ~/.bashrc
echo “export ROS_HOSTNAME=dude.local” >> ~/.bashrc
And rerun bashrc
source ~/.bashrc
Old pictures
Below a short gallery with all pictures